You’ve likely heard the buzz around self-hosting your game library. The idea of owning your data, breaking free from DRM constraints, and having a personalized, Netflix-style interface for your massive collection of DRM-free games is incredibly appealing. That is exactly where GameVault comes in.
GameVault is a self-hosted backend and frontend application designed for organizing and playing your DRM-free games. Think of it as your own personal Steam or Epic Games Store, but hosted on your own hardware. It gives you complete control. You aren’t renting licenses that can be revoked; you are managing files you own. Whether you have a massive folder of GOG installers, Humble Bundle downloads, or old CD-ROM rips, GameVault turns that chaotic file structure into a beautiful, browsable library.
Setting up a self-hosted service can feel intimidating if you have never done it before. Terms like “Docker,” “volumes,” and “port forwarding” might sound like a foreign language. However, the process is far more straightforward than it appears. This guide cuts through the technical jargon and provides you with a clear, actionable roadmap.
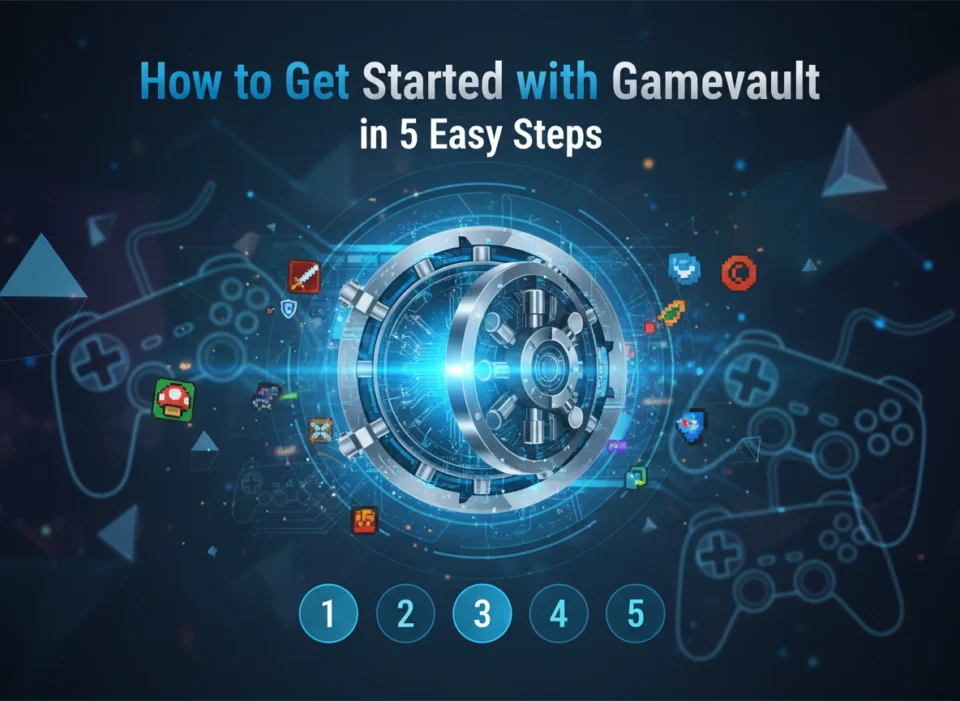
Here is how you can transform your dusty folder of game installers into a sleek, professional-grade gaming platform in just five steps.
Step 1: Prepare Your Hardware and Environment
Before installing any software, you need to ensure your foundation is solid. GameVault is lightweight compared to running a modern AAA game, but it still acts as a server. It needs a reliable home.
Choosing the Right Machine
You don’t need an enterprise-grade server rack in your basement. GameVault runs efficiently on a variety of hardware. Many users run it successfully on a Raspberry Pi 4, an old laptop, a dedicated NAS (Network Attached Storage) device like a Synology, or a modest home server running Linux or Windows.
The most critical component is storage space. Game files are large. If you plan to host a library of modern titles, you will quickly eat through terabytes of data. Ensure your machine has access to ample storage, preferably via fast HDDs or SSDs for better indexing performance.
Installing Docker
GameVault relies on Docker. Docker is a platform that packages software into standardized units called containers. This means you don’t have to worry about installing complex dependencies or messing up your system files. If your machine has Docker, it can run GameVault.
- For Windows Users: Download and install Docker Desktop. It provides a user-friendly graphical interface that makes managing containers easy.
- For Linux Users: Install Docker Engine and Docker Compose via your terminal. This is often the preferred method for servers as it uses fewer system resources.
Pro Tip: If you are using a dedicated NAS like Synology, check the “Package Center” for a Docker app (sometimes called Container Manager). It simplifies the process significantly.
Step 2: Organize Your Game Files
This step is often overlooked, but it is the secret to a smooth experience. GameVault needs to know where your games are, and it works best when your files follow a logical structure. If you dump thousands of unrelated files into a single folder, the scanner might struggle to identify your games correctly.
The Ideal Folder Structure
Create a main directory for your library, for example, /MyGameLibrary. Inside this folder, it is best practice to give each game its own subfolder.
For example:
/MyGameLibrary/The Witcher 3/setup.exe/MyGameLibrary/Stardew Valley/installer.exe/MyGameLibrary/Cyberpunk 2077/setup_v1.2.exe
GameVault is smart enough to detect archives (like .zip or .rar files) and executables. However, cleaner organization helps the metadata scraper match your files to the correct game information (box art, descriptions, release dates) faster and more accurately.
Actionable Insight: If you have a massive collection of unorganized files, consider using a bulk file renamer tool before moving them to your server. Consistent naming conventions (e.g., “Game Name (Year)”) drastically improve the automatic matching success rate.
Step 3: Deploy the GameVault Backend
This is the core of the operation. The backend is the brain of GameVault. It scans your files, fetches metadata from the internet (using the RAWG database), and serves this data to your client apps.
Setting Up the Docker Compose File
The easiest way to launch GameVault is using a docker-compose.yml file. This is a simple text file that tells Docker exactly how to run the application.
Create a new folder on your server for GameVault configuration, then create a file named docker-compose.yml inside it. You will need to paste the official configuration script provided in the GameVault documentation.
You will need to edit a few key variables in this file:
- Volumes: You must map the folder on your computer where your games are stored (from Step 2) to the folder inside the container where GameVault looks for games.
- Database: GameVault needs a small database to store user accounts and game metadata. The compose file usually sets this up automatically using a PostgreSQL container.
- Ports: By default, GameVault uses ports like 8080. Ensure these ports are free on your machine.
Launching the Server
Once your file is saved, open your terminal (or command prompt), navigate to the folder containing your docker-compose.yml file, and run the command:
docker-compose up -d
The -d flag runs it in “detached” mode, meaning it runs in the background. Docker will now download the necessary images and start your server. This might take a few minutes depending on your internet speed.
Step 4: Configure the Server and Initialize Your Library
Once the containers are running, your server is live! Now you need to configure it via the web browser.
Initial Setup Wizard
Open your web browser and navigate to your server’s IP address followed by the port you configured (e.g., http://192.168.1.50:8080). You should be greeted by the GameVault setup wizard.
The first user you create will be the Administrator. Choose a strong password. This account has the power to manage other users, change server settings, and trigger library scans.
The First Scan
This is the moment of truth. Navigate to the library settings in the admin panel and point GameVault to your game directory. Click the “Scan” button.
The backend will now iterate through your folders. When it finds a potential game installer, it queries the RAWG database to find matches. You will see your dashboard slowly populate with beautiful cover art, game descriptions, and developer information.
Troubleshooting Tip: If a game is matched incorrectly (e.g., it thinks your copy of “Doom” is the 1993 version instead of the 2016 version), you can manually fix matches in the dashboard. Just search for the correct title and re-link the file.
Step 5: Connect with the GameVault Client
Having a server is great, but you need a way to actually play the games. The GameVault Client is a desktop application (available for Windows and Linux) that connects to your server. It looks and feels remarkably similar to platforms like Steam or Epic Games.
Installation and Login
Download the latest client from the official GameVault releases page. Install it on your gaming PC. When you launch it, it will ask for your Server URL and your credentials.
Enter the address of your server (the same one you used in the browser) and log in with the account you created in Step 4.
Downloading and Playing
Once logged in, you will see your entire library presented in a slick grid view.
- Click on a game: You’ll see the details, screenshots, and a “Download” or “Install” button.
- Install: GameVault will stream the installer files from your server to your local PC.
- Play: Once installed, GameVault can often launch the game directly and even track your playtime, just like the big commercial launchers.
You now have a fully functional, self-hosted game distribution platform. You can invite friends to your server (if you handle port forwarding securely), create multiple user accounts for family members, and access your collection from any computer on your network.
Conclusion
Taking control of your digital library is a liberating step for any gaming enthusiast. By following these five steps—preparing your environment, organizing your files, deploying the backend, configuring the library, and connecting the client—you have built a robust system that preserves your games for the future.
You are no longer dependent on a storefront’s servers staying online or a licensing agreement remaining valid. Your games are yours, accessible anytime, presented in a beautiful interface that rivals paid services.
Start your GameVault journey today. Organize that folder of installers you have been neglecting, fire up Docker, and enjoy the satisfaction of being the master of your own gaming universe.